Car Maintenance & Repair · Oct 21, 2026
Wrong Differential Ratio: Why 4WD and AWD Vehicles Bind After Replacement
Learn how a wrong axle ratio can cause 4WD or AWD binding—and what to verify before buying another differential.
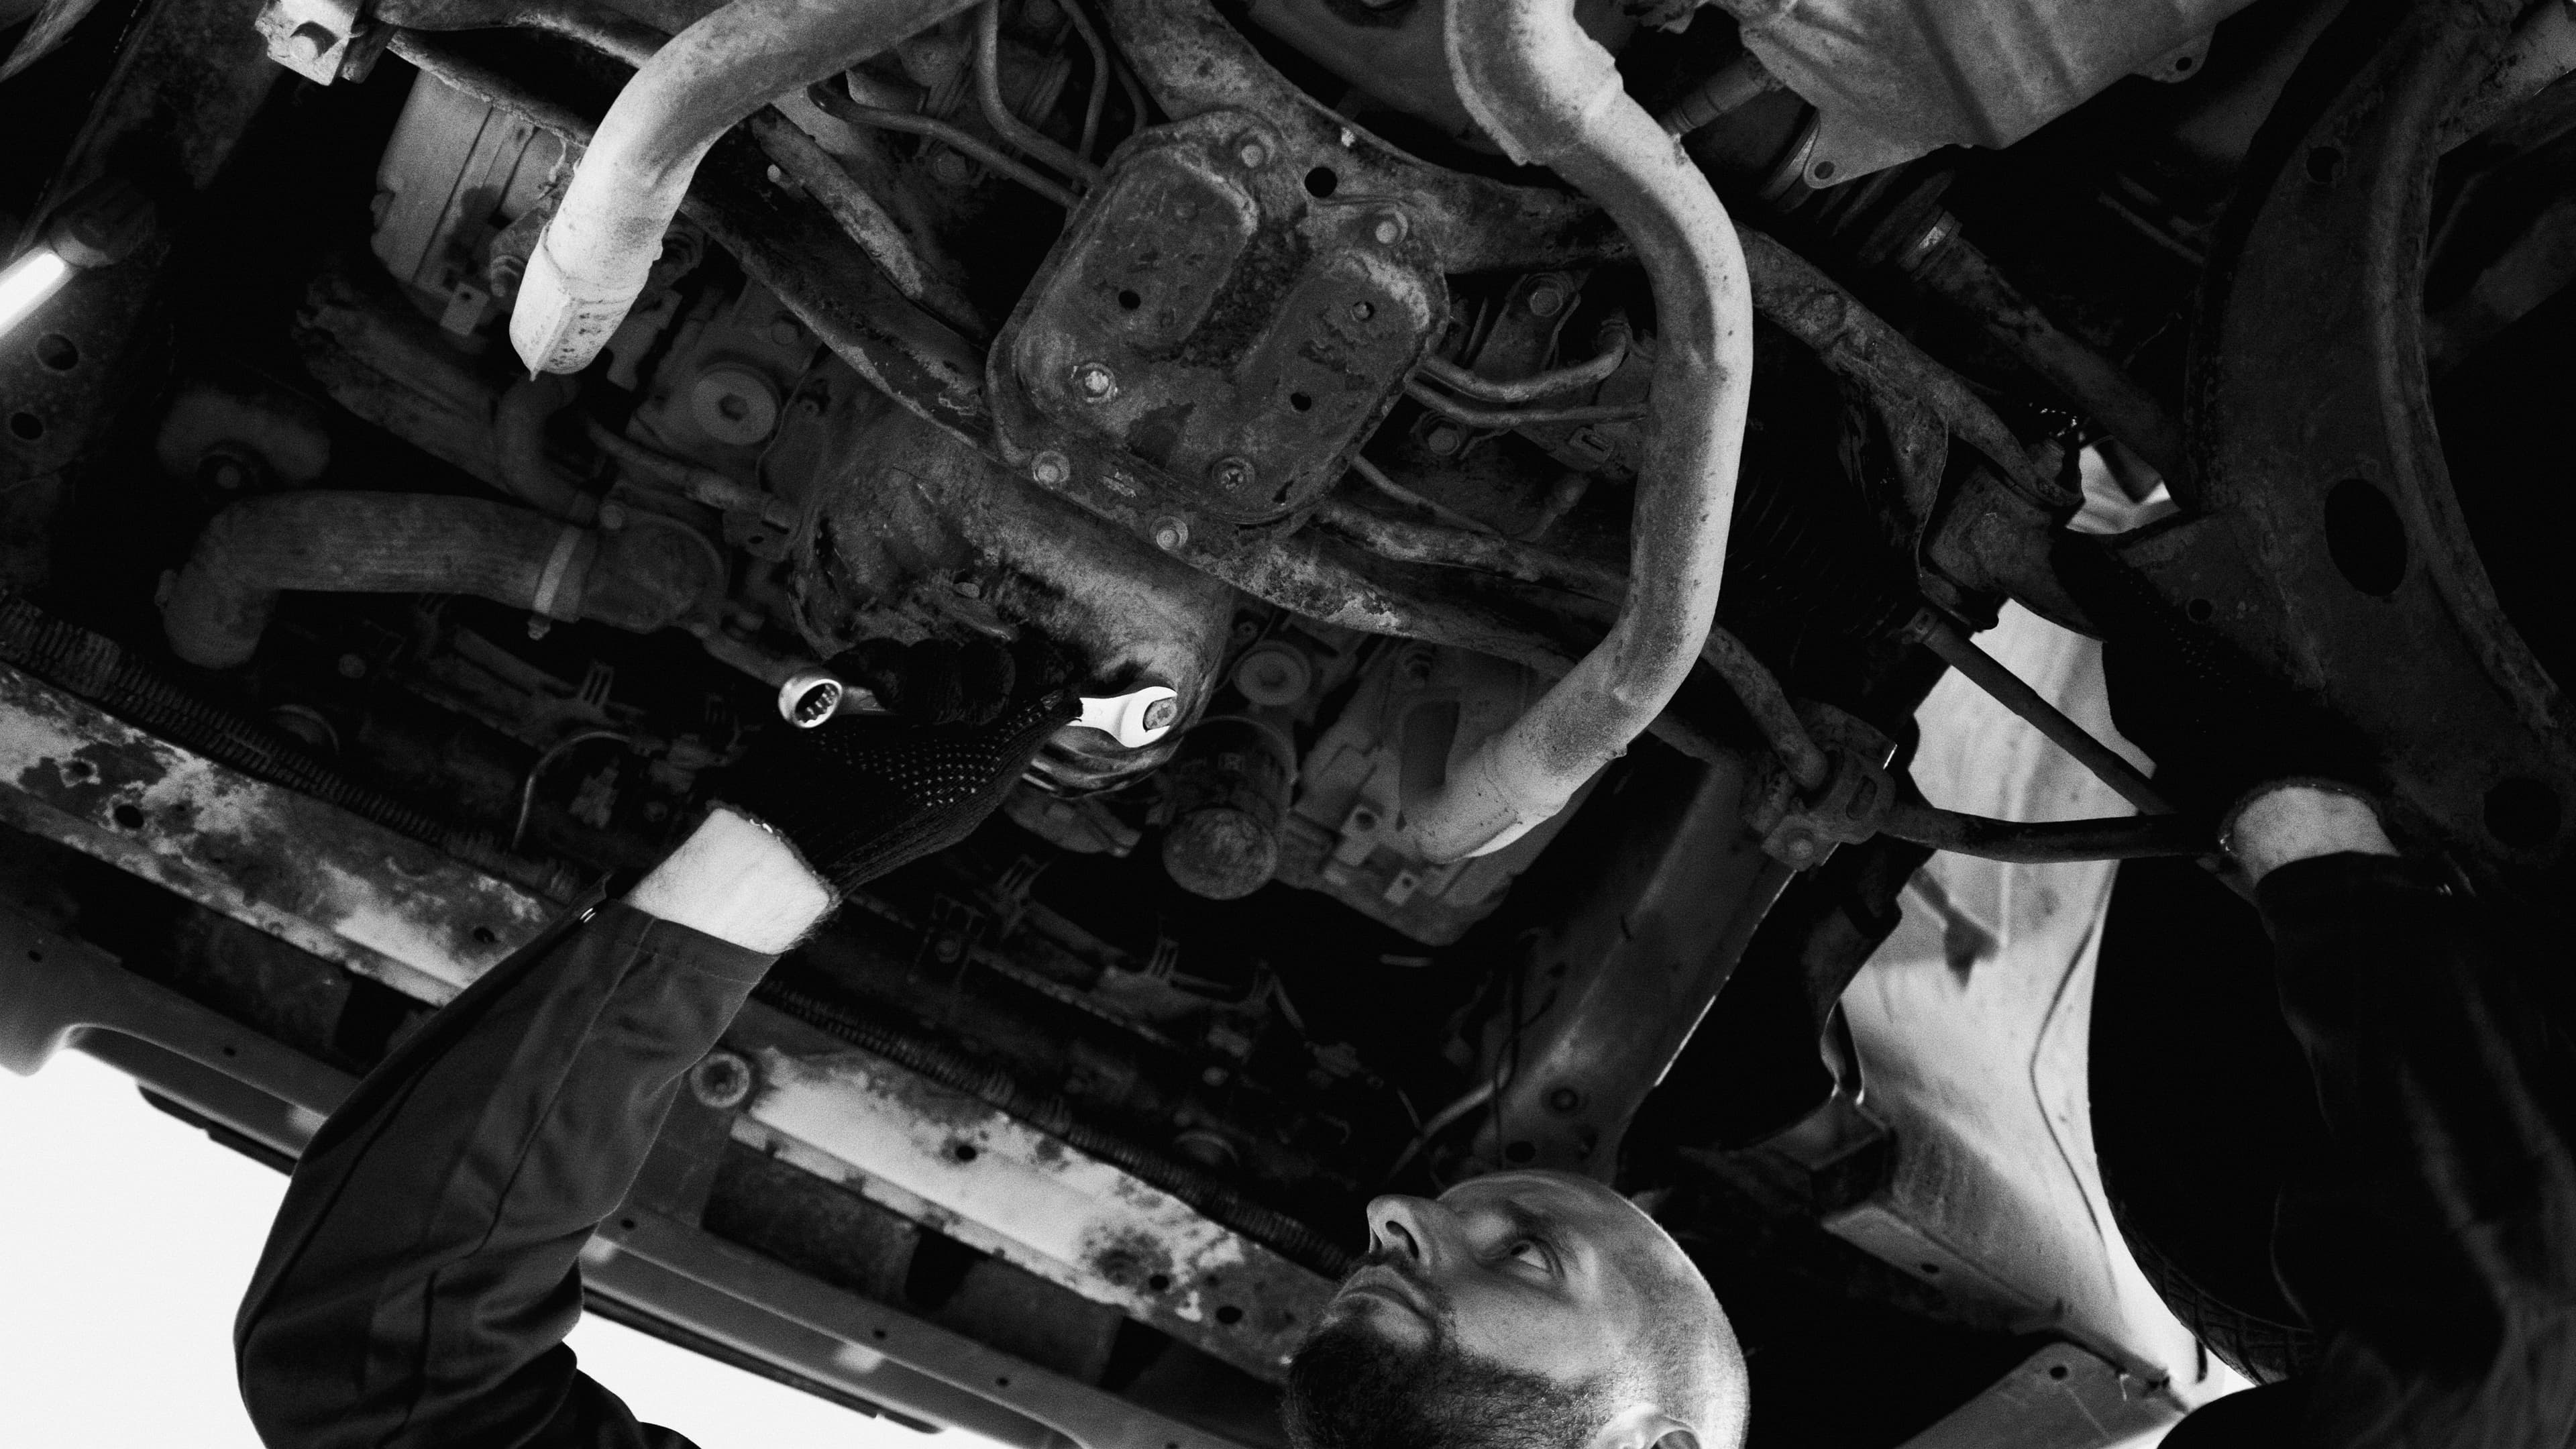
A replacement differential with the wrong gear ratio may bolt into place yet still be incompatible. On a vehicle that drives both axles, a front-to-rear ratio mismatch can force the axles to turn at different rates, creating binding, noise, heat, warning messages, or driveline damage when the system couples them. Verify the original axle identification and ratio before installation; do not use a road test to discover whether the ratios match.
Why gear ratio matters beyond physical fit
The axle ratio describes the relationship between pinion rotation and ring-gear rotation. Dana/Spicer identifies differential gear ratio as a specific carrier specification and explains that the numerical ratio can be calculated by dividing ring-gear tooth count by pinion tooth count.
That ratio affects how quickly the wheels turn for a given driveshaft speed. A housing with the correct mounts, flange, and connectors can still contain different ring-and-pinion gearing. External appearance therefore does not establish interchange.
On a two-wheel-drive vehicle, an incorrect ratio can alter engine speed, shift behavior, speed calculations, towing characteristics, and electronic-control operation. On a four-wheel-drive or all-wheel-drive vehicle, the risk is greater because the transfer case, power transfer unit, or coupling may connect the front and rear axles.
What happens when front and rear ratios do not match
When both axles are driven, the system expects compatible front and rear rotational relationships. If one axle tries to cover a different distance per driveshaft revolution, the difference has to go somewhere.
Depending on the design, the result may appear as:
- Driveline windup or resistance while turning
- Hopping, scrubbing, or tire chirp at low speed
- Humming, drumming, vibration, or a tight feeling
- Heat in the transfer case, coupling, or axle
- 4WD or AWD warning messages
- Stability-control, wheel-speed, or driveline fault codes
- Premature wear in clutches, gears, joints, shafts, or tires
- A system that disengages or limits AWD/4WD operation
The symptom may be most obvious on dry pavement, during tight turns, or when a clutch or transfer case connects the axles firmly. It may be less noticeable when the system is open, disconnected, or able to absorb some speed difference. Absence of an immediate symptom does not prove the replacement ratio is correct.
Ford owner guidance provides a useful related principle: major differences in effective tire size between the front and rear axles can cause certain 4WD systems to stop functioning, default to two-wheel drive, or sustain damage. Tires and axle gears create mismatch in different ways, but both can change front-to-rear rotational speed. This is why axle ratio and tire circumference should be verified separately.
Do not confuse ratio mismatch with ordinary 4WD binding
Part-time four-wheel drive can bind on dry, high-traction pavement even when the axle ratios are correct, because the transfer case may lock the front and rear outputs together while the vehicle needs different wheel paths in a turn. Mismatched tire size or pressure can create a similar complaint. A failing coupling, transfer case, differential, joint, or wheel-speed input can also produce overlapping symptoms.
Ask the technician to document:
- Whether the symptom began immediately after axle or differential replacement
- Which drive mode was selected
- Whether it happens straight ahead, only in turns, or under load
- Tire brand, size, tread depth, and inflation at all four corners
- Stored codes and live wheel-speed data
- Front and rear axle identification
- The ratio stated for each installed assembly
- Transfer-case or coupling fluid condition and temperature
- Any recent gear, tire, suspension, or driveline changes
For complaints that also involve tire differences or drive-mode selection, use the transfer-case binding diagnostic guide to separate operating conditions from an assembly mismatch.
How to confirm the installed axle ratio
Start with records, not assumptions. The build data, axle label, identification tag, Bill of Material number, stamped code, part number, and repair invoice may all help establish the original and replacement configurations.
A qualified shop can then verify the installed ratio using the manufacturer’s procedure. Methods vary by design and may include:
- Decoding the axle tag or stamped identification
- Looking up the exact carrier or assembly part number
- Reviewing vehicle option or production codes
- Comparing driveshaft and wheel rotations with the vehicle safely lifted
- Inspecting ring-and-pinion tooth counts if disassembly is already required
- Using scan data to compare relevant shaft or wheel speeds
- Confirming an electronic differential’s calibration and configuration
A rotation check can be affected by an open differential, limited-slip unit, locking mechanism, wheel movement, or measurement technique. It should not replace identification data when exact documentation is available.
Do not operate the vehicle in 4WD merely to “test” a suspected mismatch. If the complaint began after replacement, stop and compare the original and installed axle information before further driving.
Same ratio is necessary, but it is not the whole fitment check
Two differentials can share a numerical ratio and still be incompatible. The proposed replacement also needs the correct:
- Front or rear position
- Housing, mounting points, and case design
- Pinion flange or input connection
- Axle-shaft spline count and side-gear arrangement
- Open, limited-slip, locking, or electronically controlled configuration
- Actuator, sensor, motor, connector, and wiring arrangement
- ABS tone-wheel or speed-sensing provisions
- Oil specification and capacity
- Cooling, vent, and mounting provisions
- Part-number supersession or documented interchange
Jeep’s published Gladiator equipment information illustrates how axle assemblies, widths, differential types, and ratios are packaged as coordinated configurations. A single model name does not identify every axle variation.
The broader used differential fitment checklist explains how to collect axle identification and define what the seller is actually supplying.
What to inspect if a mismatched unit was driven
Correcting the ratio may not be the only repair if the vehicle was operated while the axles were fighting each other. The technician should follow the vehicle-specific procedure and inspect any components exposed to abnormal load.
That assessment may include:
- Transfer-case or coupling fluid for heat, odor, or debris
- Front and rear differential fluid
- Driveshaft joints, CV joints, and center support
- Pinion and output flanges
- Axle shafts and CV half shafts
- Tires for scrub or uneven wear
- Mounts and bushings
- Relevant clutch-learn, calibration, or initialization status
- Codes saved before they are cleared
Do not promise that a short drive caused no damage, and do not assume every binding complaint damaged the complete driveline. Inspection findings should determine the repair scope.
Replacement differential buying checklist
Before approving another differential or axle assembly, confirm in writing:
- Full VIN, model year, make, model, engine, transmission, and drive system
- Front or rear location
- Original axle tag, code, part number, or Bill of Material number
- Verified original gear ratio
- Verified offered-unit gear ratio
- Open, limited-slip, locking, or electronically controlled type
- Housing, flange, spline, mount, connector, sensor, and actuator configuration
- Donor or interchange information available to the seller
- Exactly which attached components are included
- Fluid, seal, calibration, and installation requirements
- Current photographs of the actual offered unit
- Installer approval of the interchange before shipment
Once the shop verifies the repair and fitment, include those details with the differential quote request. A clear axle code and ratio are more useful than “looks the same.”
Frequently asked questions
Can I change only the rear axle ratio on a 4WD vehicle?
Not unless the vehicle manufacturer’s approved configuration supports it and the front driveline is changed as required. A driven front and rear axle must have the compatible relationship specified for the vehicle.
Does the VIN always reveal the exact axle ratio?
Not always through a basic decode. Use the VIN as a starting point, then confirm build data, option codes, axle identification, original part number, and the physical assembly.
Can different tire sizes feel like the wrong differential ratio?
Yes. Different effective rolling circumferences can create front-to-rear speed differences and similar binding or control-system symptoms. Check all four tires as well as the axle ratios.
Will a scan tool identify the gear ratio?
Some vehicles expose configuration data or speed relationships that help, but availability varies. Physical identification, part records, and manufacturer service information remain important.
Match the gearing before the vehicle moves
A replacement differential is not correct because it bolts in. Verify the axle identity, numerical ratio, differential type, electronics, and mechanical connections before installation. On 4WD and AWD vehicles, confirm the coordinated front and rear configuration and tire circumference before driving. That work is far less costly than diagnosing a second failure created by an avoidable mismatch.