Car Maintenance & Repair · Oct 13, 2026
Before Replacing a Failed Turbo: Oil Lines, Intercooler and Priming Checklist
Replacing a failed turbo? Check the oil circuit, intake, intercooler, exhaust, controls, and priming procedure before installing another unit.
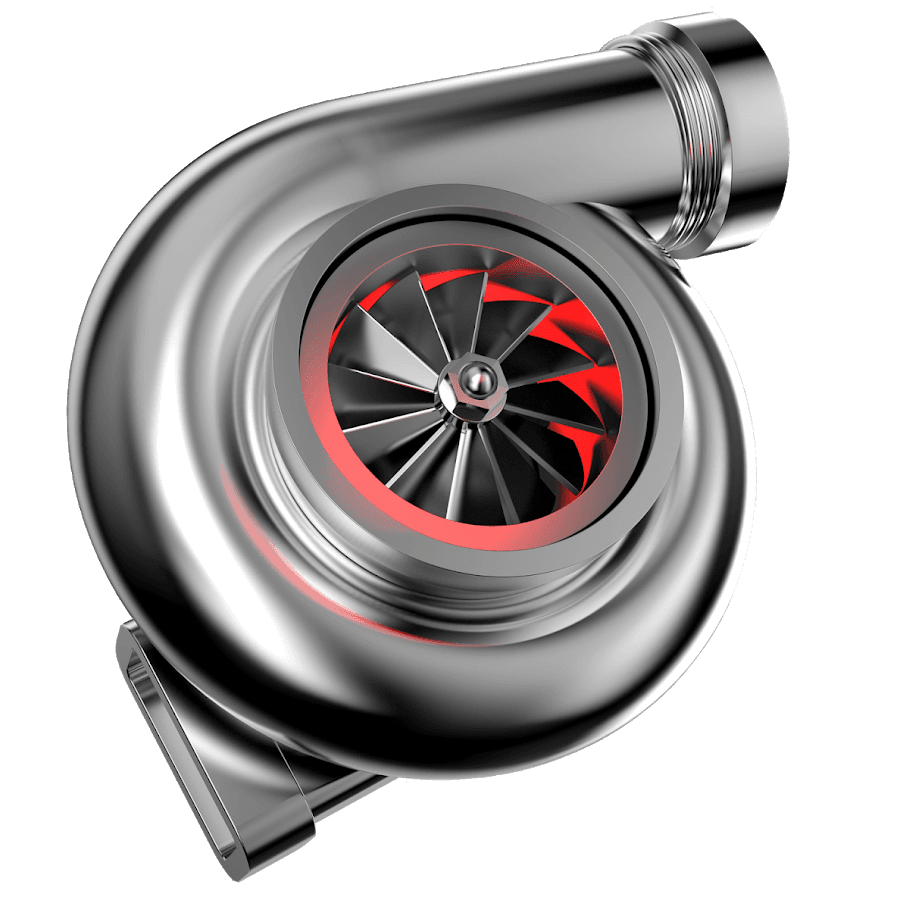
A failed turbocharger should not simply be removed and replaced. Before another unit is installed, identify why the original failed and inspect the oil supply, oil drain, air intake, charge-air cooler, exhaust path, actuator controls, and engine condition. Otherwise, the same fault can damage the replacement.
Confirm that the turbocharger is the failed part
Low power, smoke, noise, oil consumption, or an underboost code can involve the turbo, but those symptoms can also come from intake leaks, blocked filters, exhaust restrictions, engine wear, crankcase-pressure problems, sensors, wiring, or actuator controls.
Ask the repair shop to record diagnostic trouble codes and operating data before disassembly. Check the air filter, intake ducts, charge pipes, intercooler connections, vacuum hoses, electronic connectors, and exhaust system. A diagnosis should explain both the symptom and the evidence that points to the turbocharger.
Identify the original failure mode
The installation plan changes with the failure mode. Have the removed turbo inspected for:
- Compressor- or turbine-wheel contact
- Broken or missing wheel material
- Foreign-object impact
- Excessive shaft movement
- Oil coking or sludge
- Restricted oil feed or drain
- Oil leakage into the compressor or turbine side
- Actuator, wastegate, or variable-vane faults
- Excessive exhaust temperature or engine-control problems
- Coolant leakage on water-cooled applications
Do not adjust a wastegate, electronic actuator, or variable-nozzle stop unless the vehicle or turbo manufacturer specifies that procedure. Garrett warns that changing calibrated settings can damage the turbo or engine.
Verify the replacement unit independently
Use the full VIN to establish the vehicle and engine configuration; the VIN decoder is a useful starting point. Then match the turbocharger’s manufacturer part number, OEM number, engine code, housing orientation, flange pattern, oil and coolant ports, actuator type, sensor or connector, and related calibration requirements.
A visually similar turbo is not proof of interchange. Photograph the original identification plate and all connections before removal. If the vehicle uses two turbochargers, confirm which position is being replaced and whether the manufacturer requires paired inspection or service.
Ask what comes with the used turbo: actuator, wastegate hardware, manifold, sensors, oil or coolant lines, heat shields, clamps, and mounting hardware. “Complete” can mean different things on different listings.
Protect the replacement from oil-system problems
A turbocharger depends on clean oil delivered at the correct pressure and an unrestricted return path. Garrett’s installation guidance calls for clean oil, new filters, clean and undamaged feed and drain lines, correct gaskets, and priming before startup. A General Motors service bulletin for certain turbo applications likewise instructs technicians to inspect the feed pipe for restriction and the return pipe for damage or restriction.
The vehicle-specific service information determines whether a line should be cleaned, tested, or replaced. Ask the installer to check:
- Correct engine-oil specification and level
- Oil condition and evidence of fuel, coolant, sludge, or metal contamination
- Oil pressure and supply at the turbo
- Feed-line restriction, heat damage, kinks, or internal collapse
- Drain-line restriction, poor routing, gasket intrusion, or damage
- Crankcase ventilation and excessive crankcase pressure
- Oil cooler and shared lubrication components after a bearing failure
- Correct new seals, washers, and gaskets
Avoid excess sealant on oil connections. Material that enters an oil passage can restrict flow.
Clean the intake and charge-air path
If compressor-wheel material broke away or the failed turbo passed oil downstream, inspect the complete intake and charge-air system before startup. This may include the airbox, filter, inlet pipe, compressor outlet, charge pipes, intercooler, hoses, clamps, throttle body, and intake manifold.
The proper response depends on the contamination and the manufacturer’s instructions. Some components can be inspected and cleaned; others may need replacement if debris or retained oil cannot be removed reliably.
A large amount of oil trapped in an intercooler or charge pipe can be drawn into the engine later. On a diesel, uncontrolled ingestion of combustible oil can be particularly hazardous. The system should be confirmed clean and correctly assembled before the engine is started.
Inspect the exhaust and control systems
Foreign material can also approach from the turbine side. Inspect the exhaust manifold and upstream engine condition for debris, cracks, leakage, and fastener problems. If the original failure involved high exhaust temperature, determine whether fueling, ignition, injection, emissions equipment, or another engine-control problem contributed.
For a pneumatic wastegate or variable-vane actuator, inspect hoses, control valves, and the vacuum or pressure supply. For an electronic actuator, inspect wiring and connectors and confirm whether initialization, calibration, or scan-tool setup is required. Do not assume an actuator attached to a used turbo is already configured for the receiving vehicle.
Prime and start it by the correct procedure
Priming protects the bearing system from a dry first start. Follow the turbocharger and vehicle manufacturer’s procedure for the exact application. That process may include filling the oil inlet, rotating the shaft as directed, disabling engine start while cranking to establish oil supply, and then checking for leaks at idle.
The details are not universal. Use the specified oil, torque values, gaskets, fasteners, and startup sequence. After startup, inspect oil, coolant, air, and exhaust connections. Confirm normal actuator operation and boost control with appropriate diagnostic equipment before applying heavy load.
Replacement-turbo checklist
Before approving the work, confirm:
- The original failure cause is documented.
- The replacement part number and physical configuration are verified.
- Included actuator, manifold, lines, sensors, and hardware are listed.
- Oil pressure, oil quality, feed line, drain line, and crankcase ventilation are addressed.
- The intake, charge pipes, intercooler, and exhaust path are free of damaging debris.
- Any retained oil from the previous failure has been removed safely.
- Coolant lines and cooling-system requirements are covered where applicable.
- Actuator setup, module programming, or relearn requirements are known.
- New specified filters, oil, seals, washers, gaskets, and fasteners are ready.
- The priming, first-start, leak-check, and post-installation test plan is documented.
Review the written warranty policy before installation because required records, replacement parts, and diagnostic steps may affect a claim. Once the VIN, turbo numbers, diagnosis, and inclusion list are ready, add them to the parts quote request.
Frequently asked questions
Should the oil feed line be replaced with the turbo?
It depends on the application and manufacturer procedure. The line must be confirmed clean, unrestricted, undamaged, and correctly routed. Some turbo manufacturers recommend a new inlet line, while certain OEM procedures require replacement when restriction is found.
Does the intercooler need replacement after turbo failure?
Not automatically. It must be inspected for oil and debris, then cleaned or replaced according to the applicable procedure and its condition. A component that cannot be made reliably clean should not be reused.
Can an actuator from the old turbo be transferred?
Sometimes, but only when the part is compatible, serviceable, and the procedure permits it. Electronic and variable-geometry systems may require calibration or initialization.
Why prime a replacement turbo?
Priming establishes lubrication before the shaft operates at speed. Follow the exact manufacturer procedure rather than improvising, because startup steps vary by engine and turbo system.