Car Maintenance & Repair · Oct 19, 2026
Low Engine Oil Pressure: Sensor, Pump or Internal Damage?
A low-oil-pressure warning is urgent, but it does not identify the failed part. Learn what to test before repairing or replacing the engine.
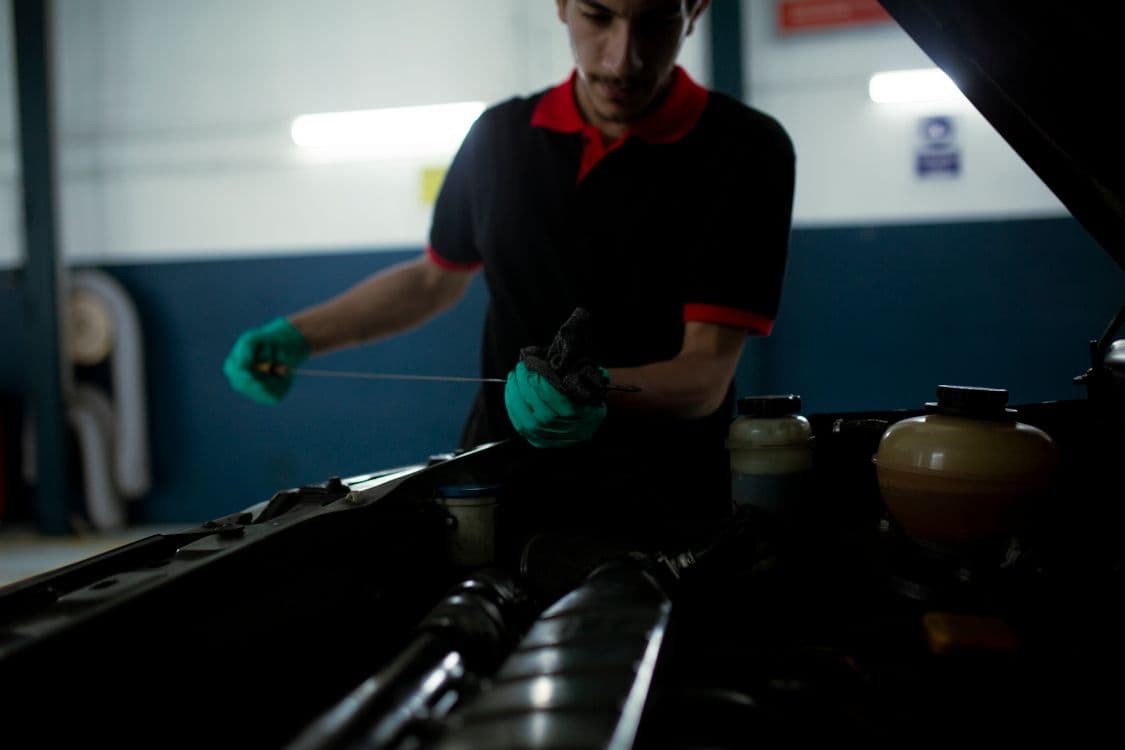
A low-engine-oil-pressure warning is urgent, but it does not identify the failed part. The cause can be as simple as an incorrect oil level or an electrical fault, or as serious as a pump, pickup, bearing, or internal engine problem. Shut the engine down as the owner's manual directs, then diagnose the warning before authorizing a pump or replacement engine.
What should you do when the warning appears?
Move out of traffic and stop in a safe place. Switch off the engine and follow the instructions in the owner's manual for the exact vehicle. Ford owner information, for example, directs drivers to stop safely, turn off the engine, check the oil level, and obtain service if the warning stays on or returns. Other manufacturers may describe different symbols or procedures, so the vehicle's own manual controls.
Do not assume that adding oil makes it safe to continue. The warning concerns pressure, not simply the quantity shown on the dipstick. A correct oil level with an active pressure warning still requires diagnosis, and running the engine without adequate lubrication can increase damage.
Record the conditions before the vehicle is moved or repaired:
- Warning message or lamp displayed
- Engine speed, coolant temperature, and road speed
- Whether the warning occurred at cold start, hot idle, or under load
- Oil level on level ground after the specified wait time
- Oil type and viscosity used at the last service
- Recent oil-filter, engine, timing, or oil-pan work
- Any ticking, knocking, stalling, leakage, or oil consumption
- Diagnostic trouble codes and freeze-frame data
This history helps distinguish a repeatable mechanical condition from an intermittent circuit or service-related problem.
Oil level is the first check, not the final diagnosis
A low level can uncover the pickup during braking, cornering, or acceleration and can reduce the oil available to the pump. Find the reason for the loss instead of repeatedly topping up. Inspect for external leaks and consider whether the engine is consuming oil.
An overfilled crankcase can also cause trouble. If rotating components aerate the oil, the pump may receive foam instead of a solid oil supply. Use the manufacturer-specified level-check method and never treat “more” as automatically safer.
Confirm that the correct viscosity and specification were used. Oil that does not meet the required specification, an incorrect filter, a collapsed filter element, or a damaged filter seal can complicate pressure diagnosis. The service record and the installed parts matter.
Could the sensor or wiring be wrong?
Yes. The dashboard indication may come from a pressure switch, a pressure sensor, calculated logic, or a combination. A failed sensor, poor connector contact, damaged wire, ground problem, or module issue can produce a false or implausible reading.
Manufacturer bulletins show why a code is not a parts order. GM published application-specific information for certain Buick Encore GX and Chevrolet Trailblazer vehicles with DTC P0521 that uses scan data and harness manipulation to isolate a wiring-splice issue. Another GM bulletin for specified truck and SUV applications directs technicians to rule out electrical and sensor concerns before inspecting the oil pump.
Those bulletins do not apply to every vehicle. They illustrate the correct approach: identify the VIN, engine code, model year, relevant codes, and current OEM diagnostic procedure before replacing a sensor, pump, or engine.
Verify actual pressure with the approved method
If the warning cannot be resolved by a documented electrical diagnosis, the shop should measure actual oil pressure using the manufacturer's test point, tool, oil-temperature condition, and engine-speed procedure. Generic pressure numbers from another engine family are not a valid pass/fail standard.
The technician should compare:
- Mechanical gauge pressure at the specified test conditions
- Scan-tool pressure data, if the vehicle reports it
- The warning-switch or sensor circuit state
- Oil and coolant temperatures
- Pressure response from idle to the specified higher speed
- Applicable codes, bulletins, and calibration information
If mechanical pressure is correct but the reported value is wrong, concentrate on the sensor, switch, connector, wiring, and control logic. If mechanical pressure is below the manufacturer's specification, continue with a mechanical cause analysis.
Mechanical causes to investigate
Low measured pressure can result from more than one fault:
- Low, overfilled, aerated, diluted, or incorrect oil
- Incorrect, restricted, damaged, or poorly sealed oil filter
- Blocked or cracked pickup, damaged pickup seal, or restricted screen
- Sticking pressure-regulator or relief valve
- Worn, damaged, or improperly driven oil pump
- Excessive bearing clearance or damaged bearings
- Internal gallery leakage or missing plugs
- Assembly error after engine repair
- Sludge, debris, or sealant restricting oil flow
Test order matters. Replacing the pump will not correct excessive bearing clearance, and replacing an engine will not correct a false signal caused by a damaged wire.
GM service information for certain 2019–2020 trucks, vans, and SUVs with the 6.0-liter L96 or LC8 engine demonstrates this distinction. For the specified condition, it identifies a sticking pump relief valve as a possible cause and uses main-bearing inspection to separate an oil-pump-only repair from deeper internal repair or engine replacement. That procedure is limited to the vehicles listed in the bulletin, but its logic is useful: prove the failure mode and inspect for consequential damage.
When is engine replacement reasonable?
Replacement becomes more reasonable when testing confirms low mechanical pressure plus substantial internal damage that cannot be addressed economically or reliably with a targeted repair. Supporting evidence may include damaged or spun bearings, metal debris tied to internal wear, crankshaft damage, seized components, or multiple lubrication-related failures.
A low reading alone does not define the scope. Ask the shop to document:
- The exact OEM pressure specification and test conditions
- Mechanical gauge readings
- Oil level, specification, filter part number, and oil condition
- Sensor and circuit test results
- Pickup, pump, relief-valve, and bearing findings
- Photos of debris or damaged components
- Codes, service bulletins, and VIN applicability
- Whether the proposed repair addresses the root cause
If abnormal pressure is accompanied by noise, the related engine-knock diagnostic guide explains why accessory, flexplate, valvetrain, and lower-end sounds should be separated before ordering an assembly.
Replacement-engine buying checklist
When internal damage is confirmed and replacement is chosen, collect the information needed to match the assembly and prevent a repeat failure:
- Full 17-character VIN
- Engine displacement, fuel type, aspiration, and engine code
- Drive layout and emissions configuration
- Original engine identification or casting information
- Required long-block or complete-assembly scope
- Oil pan, pickup, pump, front cover, sensors, and accessory transfer plan
- Cooling, lubrication, and contamination-cleanup plan
- Required programming, initialization, or relearn procedures
- Installer's pre-lubrication and first-start procedure
- Written list of included and reused components
Use the VIN decoder to confirm the basic vehicle identity, then verify the engine code and physical configuration from manufacturer or catalog data. Once the diagnosis and identifiers are documented, request an engine quote with the exact fitment details.
Frequently asked questions
Can a bad oil-pressure sensor damage the engine?
A sensor fault does not directly remove lubrication, but treating a real low-pressure condition as “just a sensor” can allow damage. Verify actual pressure and the circuit rather than guessing.
Can an oil change fix low pressure?
It may correct a problem caused by a wrong oil specification, incorrect filter, or service error, but it cannot repair worn bearings, a damaged pump, or a restricted pickup. Diagnose the cause before using a fluid change as the remedy.
Does low pressure at hot idle mean the engine is worn out?
Not automatically. Hot-idle pressure must be compared with the manufacturer’s specification using the correct oil temperature and test procedure. Sensor error, oil viscosity, filter problems, pump regulation, pickup leakage, and bearing clearance are among the possibilities.
Should a used engine include the oil pump?
Included components vary by listing and engine design. Ask for a written parts list and confirm whether the pump, pan, pickup, sensors, covers, and accessories are included or must transfer from the original engine.
The practical answer
A low-oil-pressure warning deserves an immediate shutdown, followed by evidence—not guesswork. Confirm the level and oil specification, check the filter and service history, diagnose the sensor circuit, and measure mechanical pressure with the OEM method. Recommend a pump, internal repair, or replacement engine only after the tests identify the cause and the extent of damage.